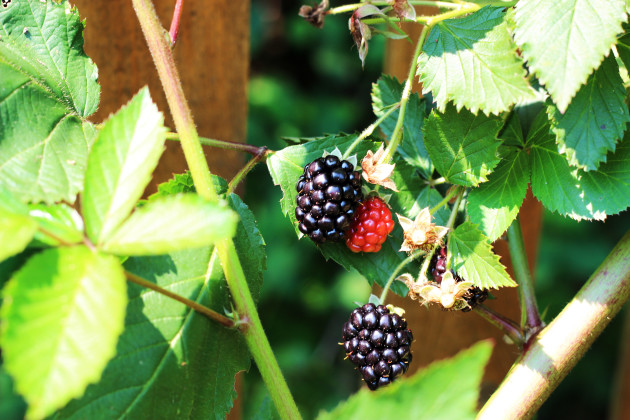
| One of my favorite memories of childhood is picking bowls full of blackberries at my grandparents' house in South Carolina. Every summer, my sister and I would visit for a couple of weeks, and we would go out together each afternoon to pick blackberries. My grandparents lived in the country, and there was a small dirt road that ran alongside their house, and it was lined with wild blackberry bushes. We would gladly brave the thorns and the occasionally prick to gather what seemed like endless bowls of these delicious berries! Then my grandmother would take them and create tasty blackberry cobblers for dinner. Jams and jellies are another great use for berries, and this Homemade Blackberry Jam is a constant reminder of my childhood days spent picking blackberries in upstate South Carolina. This Homemade Blackberry Jam is surprisingly easy to make! It literally involves 4 ingredients and less than 30 minutes of work. Here are a couple of other tips and thoughts about making this simple, homemade jam: - Frozen or Fresh? I happen to have blackberry bushes loaded with fresh berries in my backyard, but you can easily use a bag of frozen blackberries to make this jam. Just allow the berries to thaw at room temperature before putting them in the sauce pot.
- To Seed or Not to Seed? I actually enjoy leaving the seeds in my blackberry jam because it reminds me of eating the berries right off the bush. But if you prefer a seedless jam, then simply process the berries through a food mill after heating and muddling them. If necessary, you can add a ¼ cup of apple juice to the heated berry mixture. This will make it easier to process the berries through the food mill.
- Stir It Up: Make sure to stir the jam frequently while heating it up. Nothing will ruin a batch of jam faster than the taste of burnt berries!
- Pour Some Sugar On Me: I prefer my jams a bit on the tart side as I feel like this allows the flavor of the berries to come through. But if you like your jams sweeter, feel free to add more sugar! (This recipe calls for a little less than 2 cups of sugar, but I've seen some recipes call for 7+ cups of sugar for the same amount of berries. This is totally a personal preference.) Once you stir the sugar into the muddled berries, take a small taste and see if the sweetness is to your liking. And remember, you may need to adjust the sugar slightly each time you make this recipe based on the sweetness of that particular batch of berries!
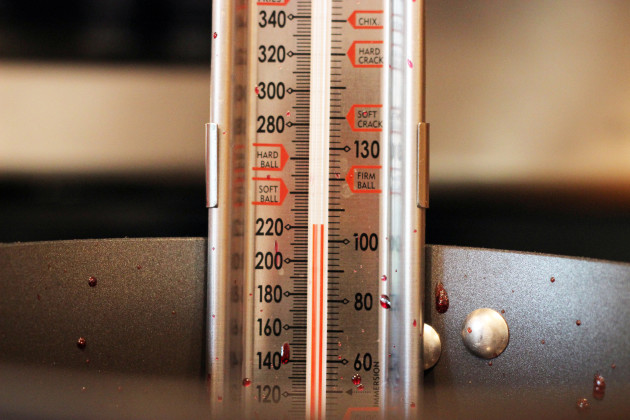
- The Right Tool for the Job: There are a couple of common kitchen tools which will make this process much, much easier. If you prefer seedless jam, then a food mill will help greatly. A muddler (or a potato masher) will make the berry-mashing process much faster, and finally a candy thermometer will help you know when you reach the necessary temperature.
- Cornstarch vs. Pectin: I've found that cornstarch works quite well in this Homemade Blackberry Jam recipe, and I've always got a box of cornstarch in my pantry. If you prefer, you can substitute pectin for the cornstarch, though. Just follow the instructions on the side of the box for the correct amount.
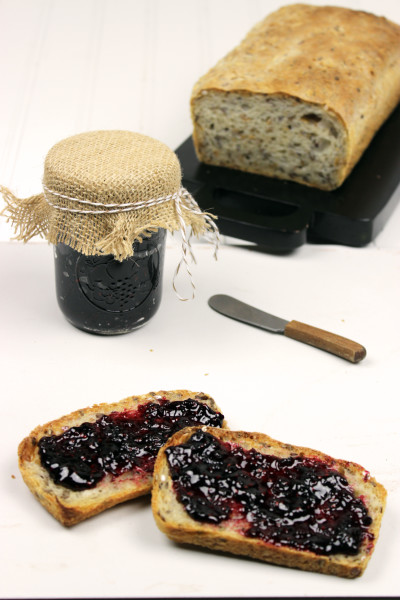
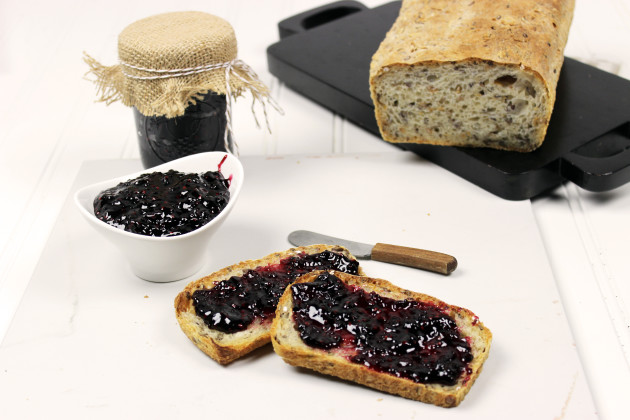
 One of my favorite ways to serve this Homemade Blackberry Jam is on top of these Old-Fashioned Southern Buttermilk Biscuits. Both recipes are incredibly simple, and together they create the perfect breakfast (or afternoon) treat! It would also be great on Megan's Honey Oatmeal Bread Recipe. Ingredients - 4 cups blackberries, approximately 1 pound
- 1 3/4 granulated sugars
- 2 tablespoons cornstarch
- 1 teaspoon lemon juice
Directions - Wash berries and place them in a medium sauce pot over low heat. Once the berries are warm, muddle them in the sauce pot until no large pieces remain. (Optional: Use a food mill at this point to de-seed the mixture.)
- Add the sugar and lemon juice to the saucepot. Stir well.
- Mix the cornstarch with 2 tablespoons water, and add mixture to the sauce pot. Stir well.
- Increase heat to medium-low, and bring to a boil (about 15-20 minutes). Stir frequently to ensure jam doesn't burn.
- Once the jam reaches 220°F degrees, remove it from the heat and allow it to cool. (If needed, you can skim and discard any foam that may be on top.)
- Once cool, store in an airtight container in the refrigerator or follow Tracy's instructions for canning: Canning 101.
via Food Fanatic http://www.foodfanatic.com/2013/09/blackberry-jam-the-sweet-taste-of-summer/ |


No comments:
Post a Comment